HOW TO GET THE KIDS INVOLVED
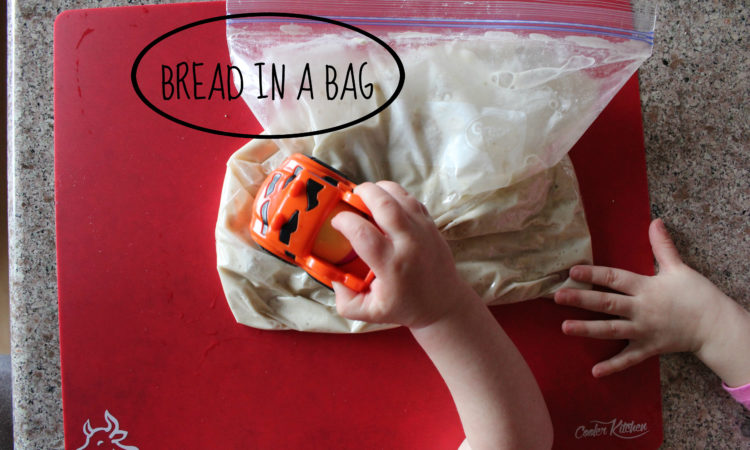
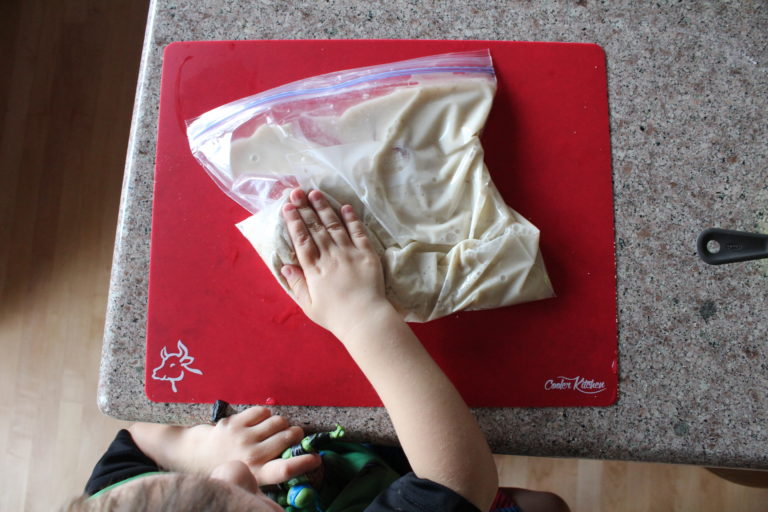
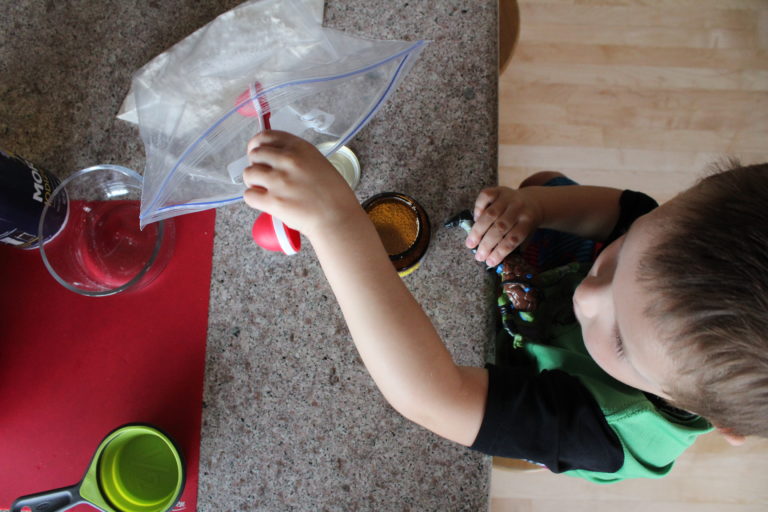
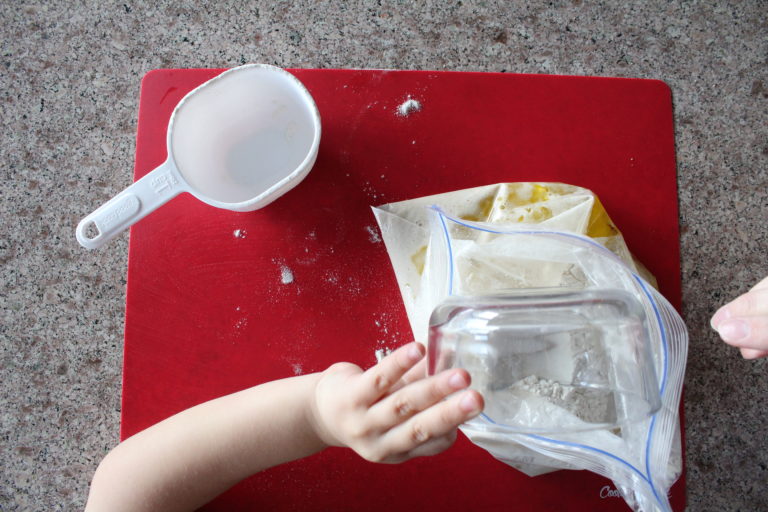
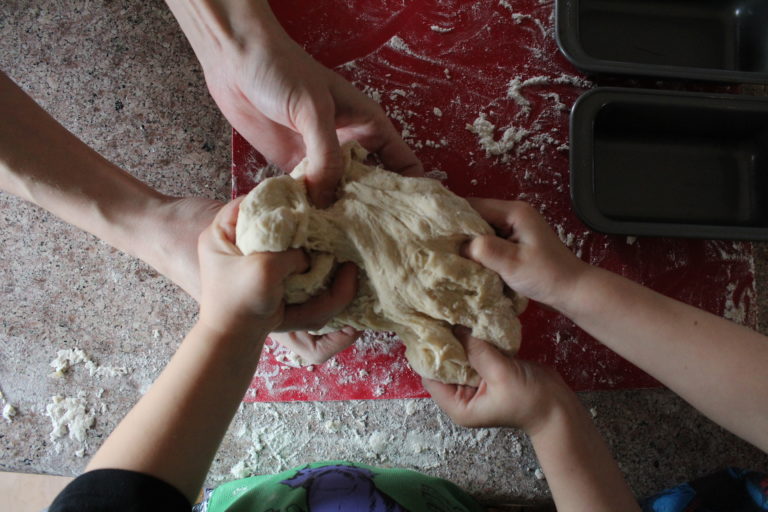
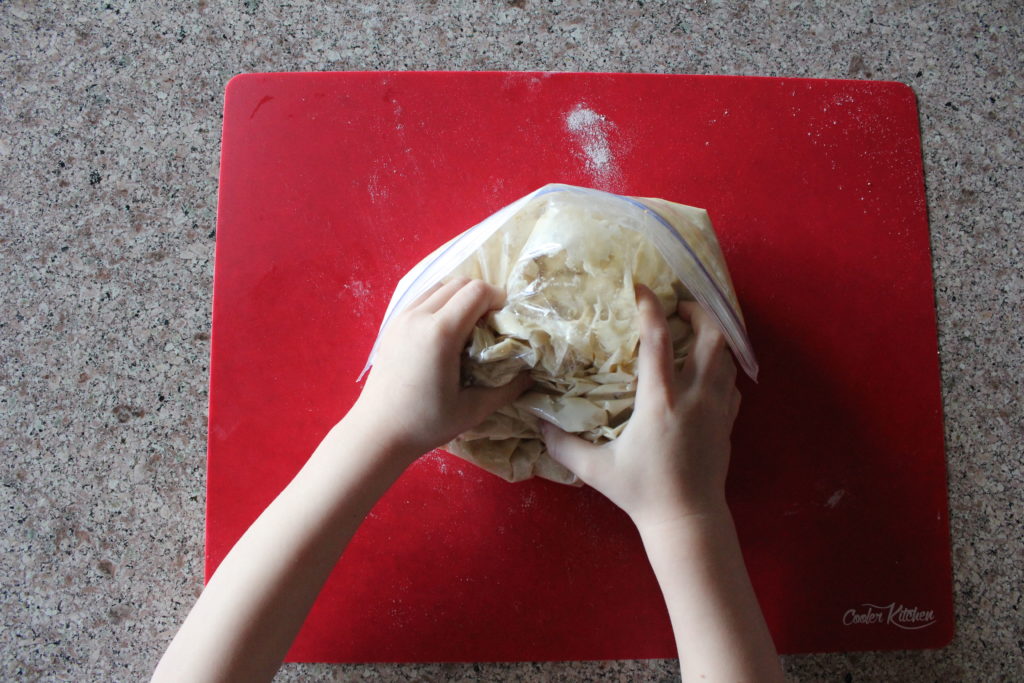
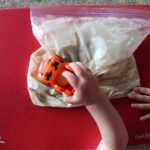
The kids had a blast with this recipe; and it was so easy. Jack made sure to cling to his ninja turtle throughout the entire process because the bag made it so much easier and a tiny bit cleaner. After adding ingredients they were able to do a lot of squishing and my daughter even got creative, pulled out her toy car and started driving it along the dough to help with the process.
EMBRACE THE MESS
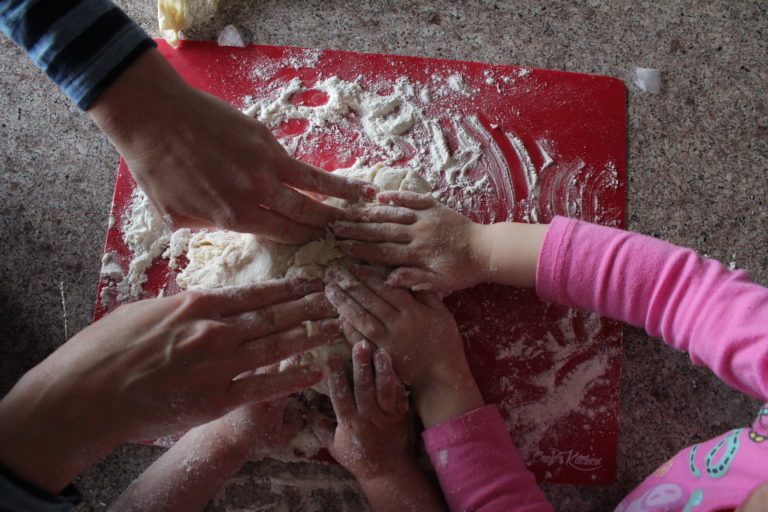
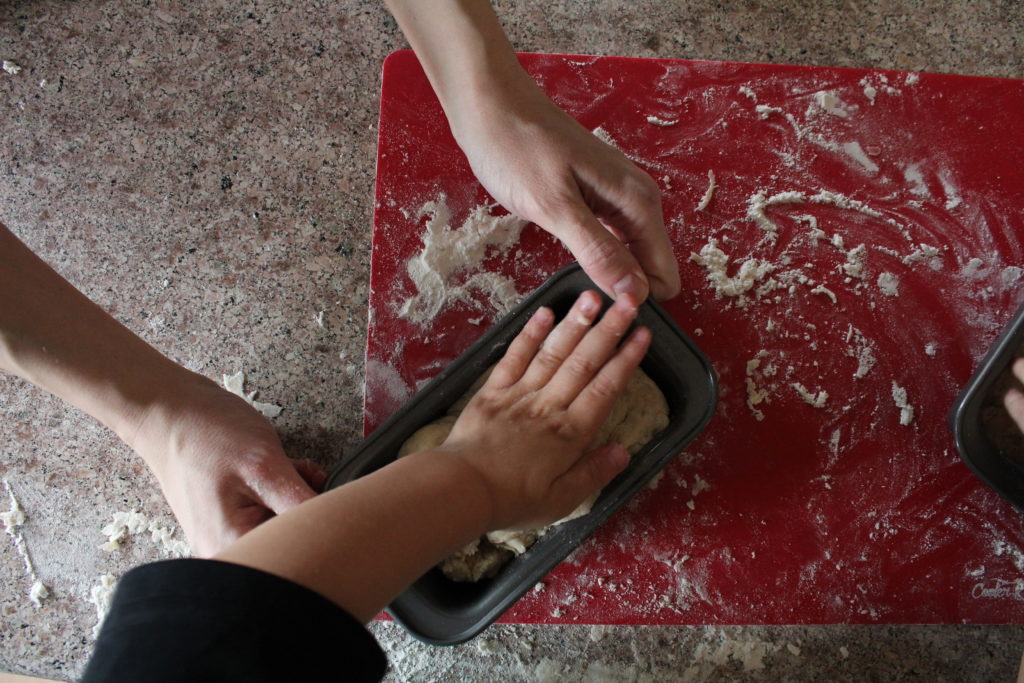
My toddlers loved kneading the dough, which was a HUGE mess; but it wouldn’t be cooking with toddlers if there wasn’t a mess. Try to embrace it. There was flour all over my two-year-old’s chair and the counter and the floor but they had so much fun and were proud of what they did and that is what is most important. They especially liked punching the dough. They did awesome making rectangular shapes and putting them in the pan.
EDUCATE WHILE YOU BAKE
Depending on what bread pan you use, we asked the kiddos to shape the loaves accordingly. We used mini rectangular pans so we asked the kiddos to shape the dough into rectangles with their hands, you could also ask them to make other shapes with the dough. You could take it even farther and use small circular or square pans and have a whole bunch of fun shaped loaves. When the kiddos ask why the bread has to sit for so long, this is also a great opportunity to talk about the scientific process of bread rising.
I loved this recipe, we had so much fun making it together. So get ready to squish, squish, squish and check out another fun kid-friendly bread recipe.

Bread in a Bag
Ingredients
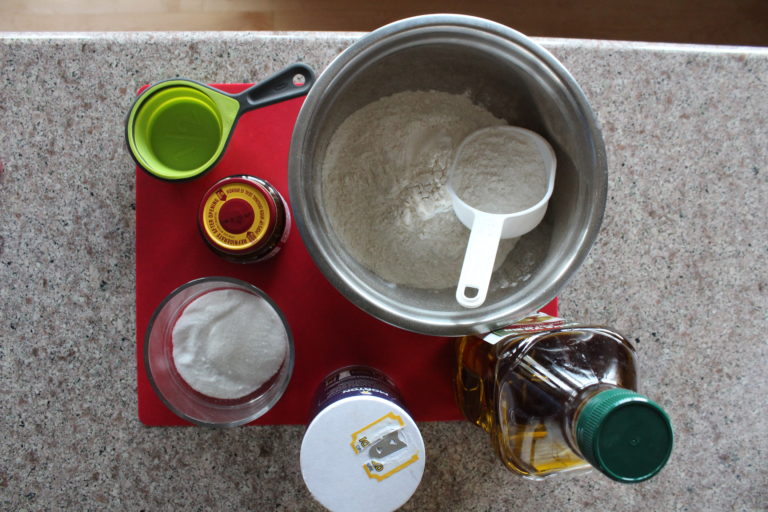
- 3 cups flour
- 3 Tbsp white sugar
- 2 1/4 tsp active dry yeast
- 1 cup warm water
- 3 Tbsp olive oil or canola oil
- 1 1/2 tsp salt
Instructions
-
In a large resealable plastic bag add 1 cup flour, white sugar, yeast and water
-
Seal bag, making sure all the air is out of it, let kids squish and squish until all the flour is wet
-
Let it rest for ten minutes
-
Open bag and add one cup flour, oil and salt
-
Seal the bag again and let the kids squish, until no dry ingredients
-
Open the bag and add last cup of flour
-
Close the bag and let them squish again.
-
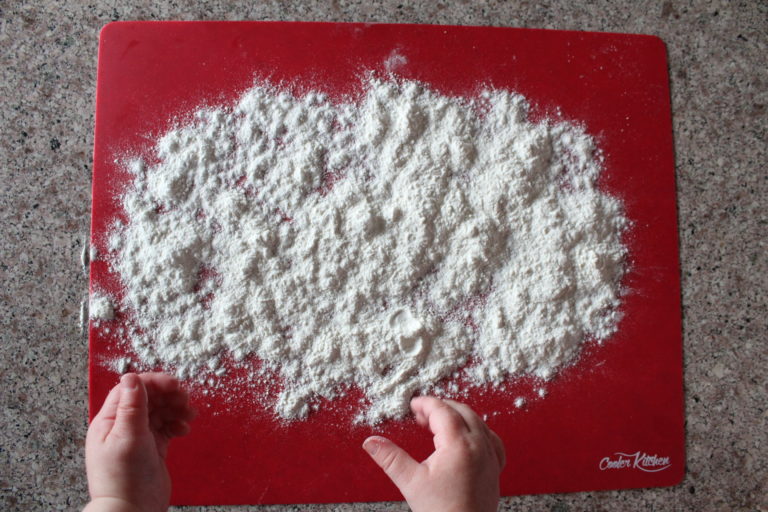
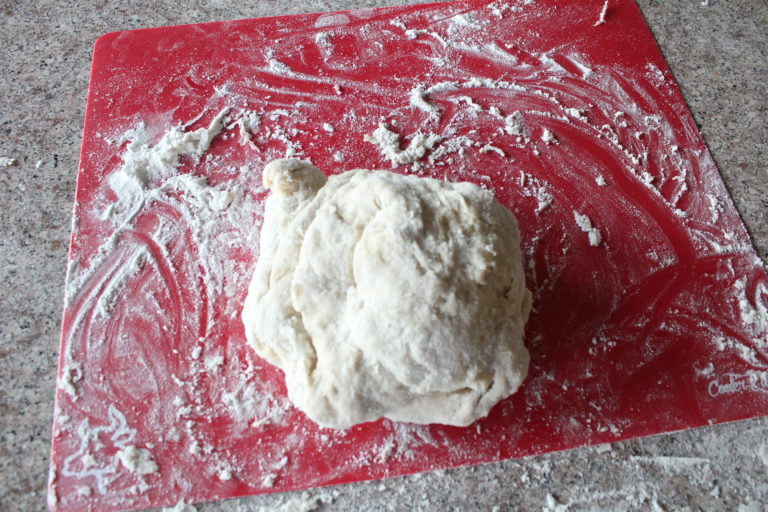
Lightly flour a surface and drop the dough from the bag onto the floured surface.
-
Let the kids knead for 5-10 minutes or until dough is smooth (may have to help them a little bit)
-
Have kids form the dough into two rectangles while you grease down two mini loaf pans
-
Have them put dough into the loaf pans
-
Let rise for 25 minutes
-
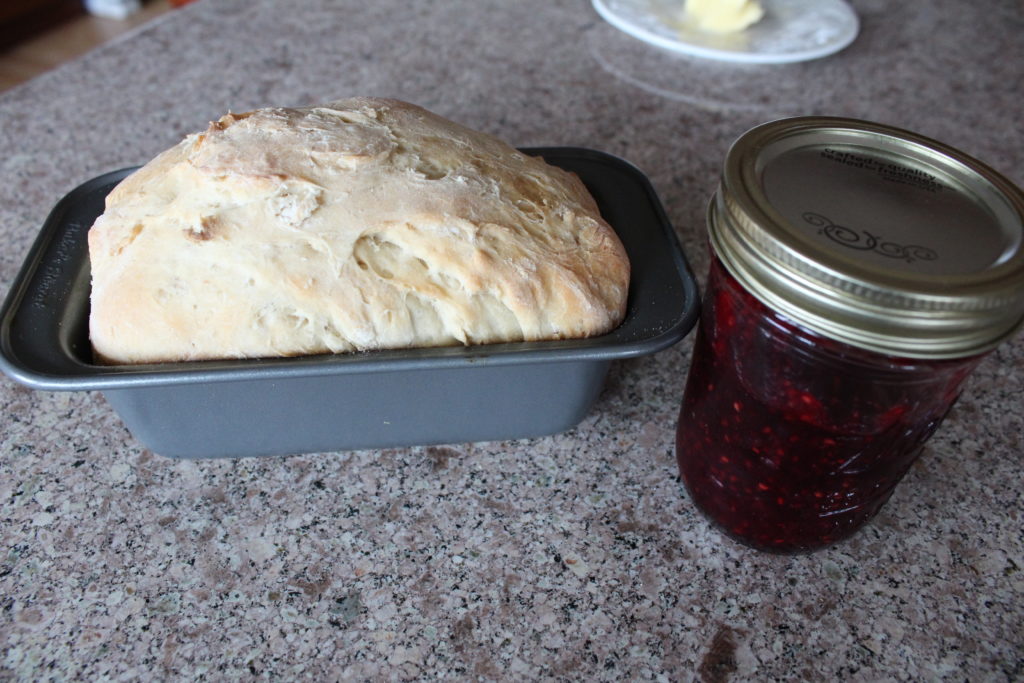
Bake in oven at 375 degrees for 25- 30 minutes or until loaf is golden brown
ADULT PREP: I added some of the smaller, harder ingredients like the oil and salt. I helped them seal the bag each time so all the air was out. I helped a little bit in the kneading process, although they caught on pretty quick. I greased the loaf pans, and pulled the loafs in and out of the oven
KIDS TASKS: Measuring and adding dry ingredients to bag (yeast, flour). Lots and lots of squishing. Kneading. Forming dough into rectangles. Putting the dough into bread pans.
Recipe Notes
Recipe taken from "Your Homebased mom": Bread in a Bag

