I love the simplicity of the steps to make this recipe! This is a cookie the kids can easily get involved with, enjoying fun tasks like…
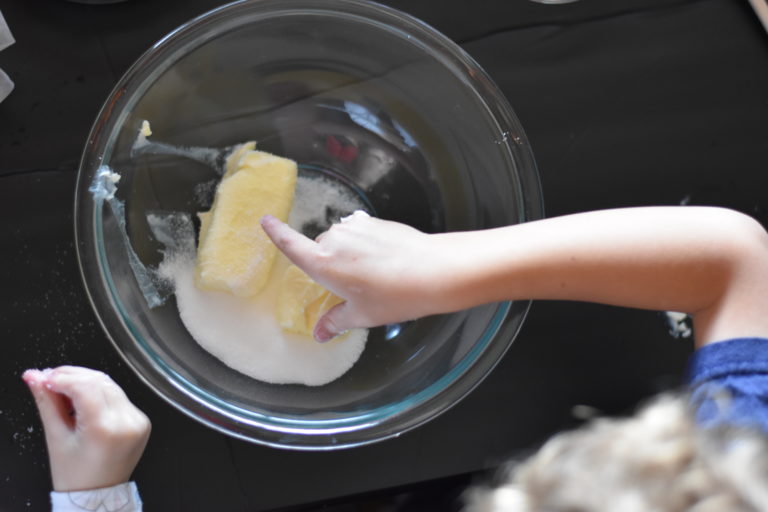
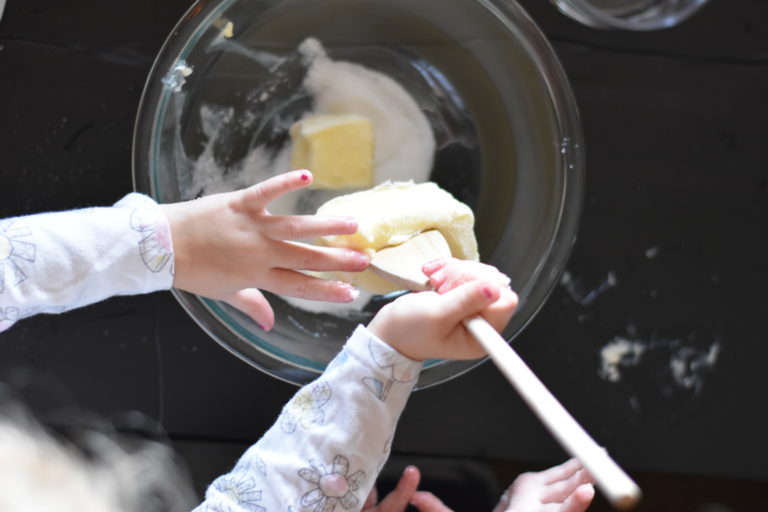
UNWRAPPING BUTTER
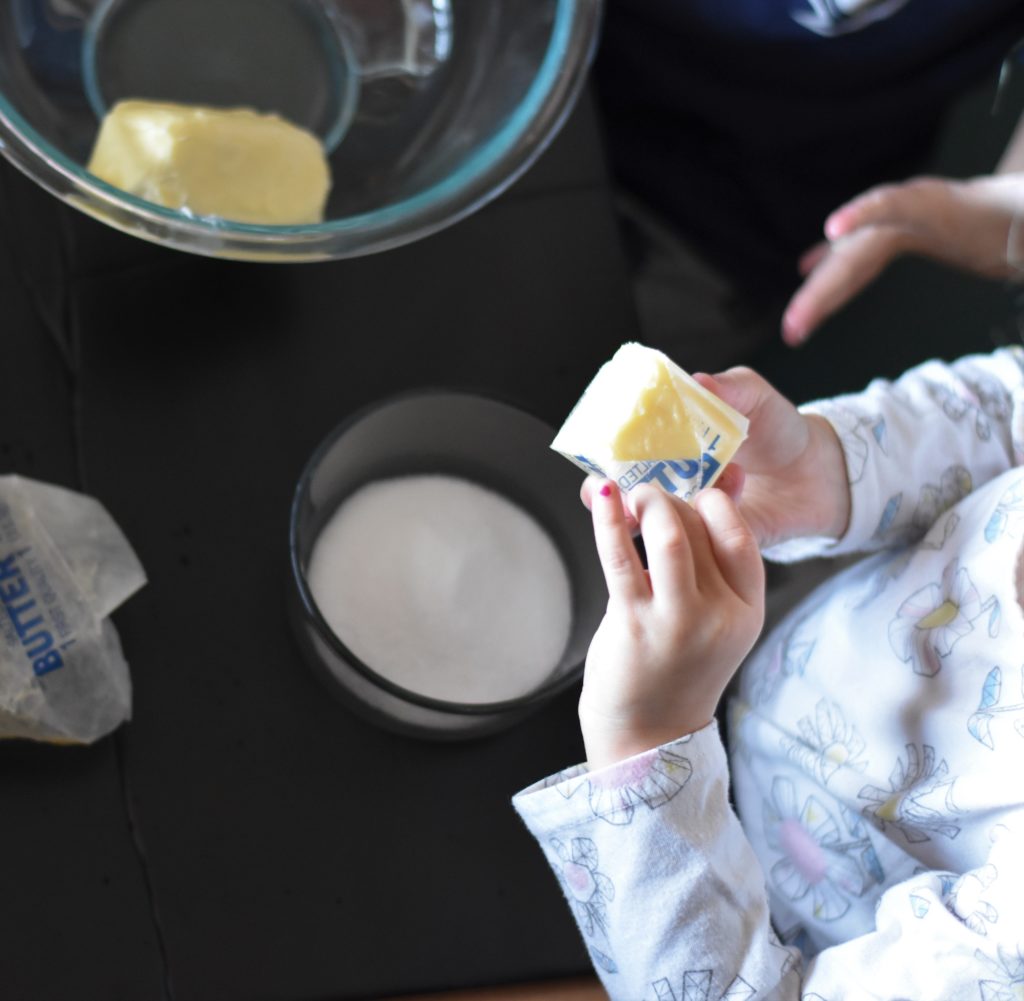
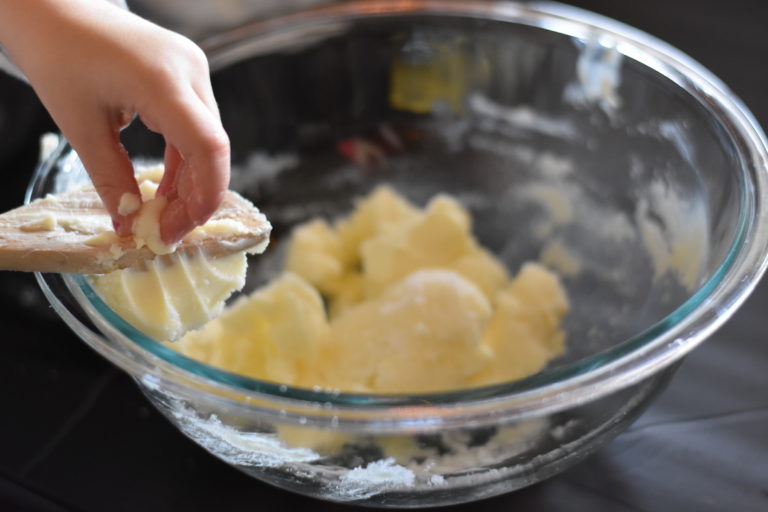
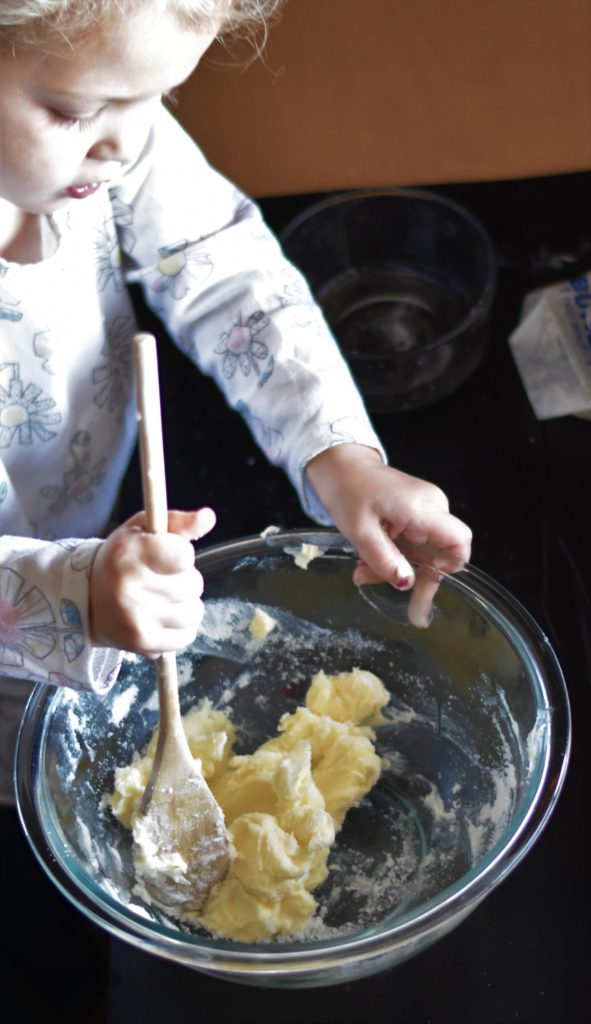
MIXING BUTTER AND SUGAR
Oh what a fun sensory activity this is! After my 3 year old little miss got her hands into this she wanted them washed so we did quite a lot of hand washing in between steps! 🙂
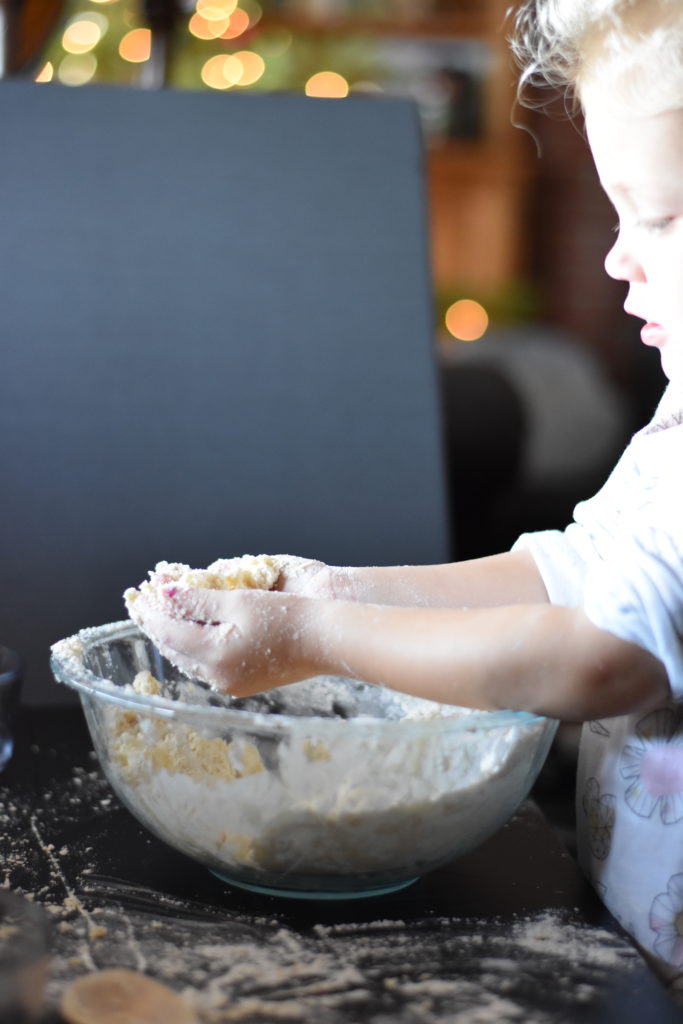
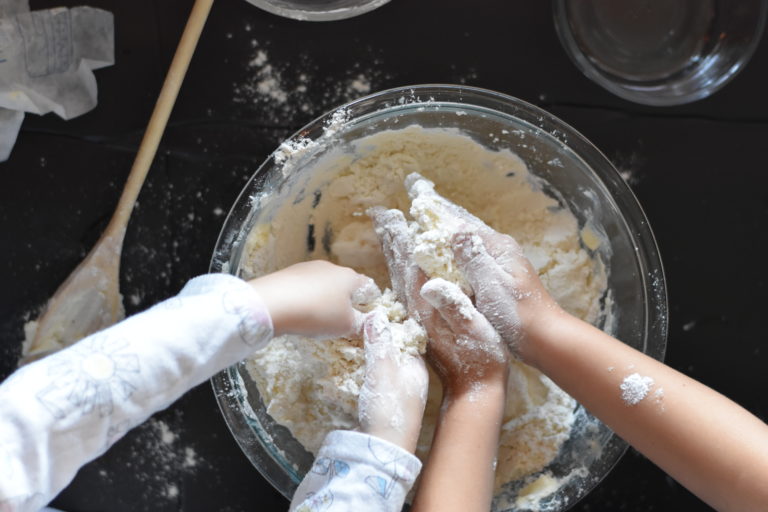
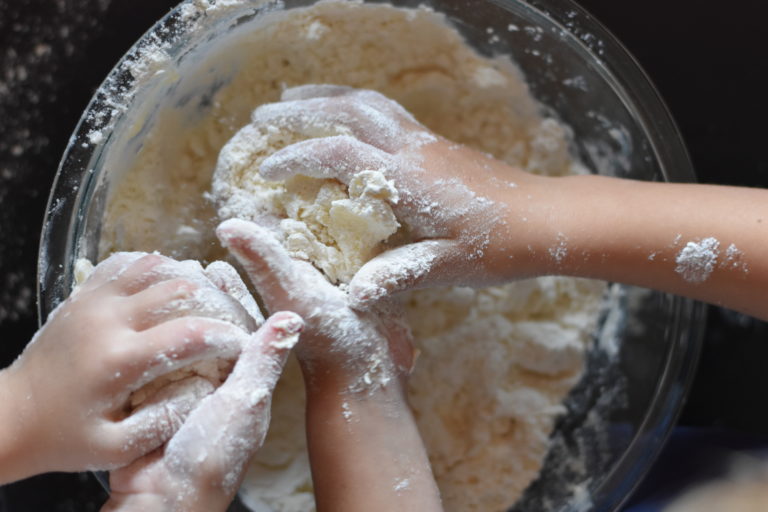
USE HANDS TO INCORPORATE FLOUR
Now the trick here is to get it all mixed together and then see if it will smush into a nice ball. If the dough is too crumbly or dry, add some more butter. Every time I have made these I have ended up adding at least 2 more Tbsp of butter so that it sticks together without crumbling apart. I also think using your hands is helpful for this stage because you can really feel whether the dough is dry or if there are big chunks of butter to continue incorporating.
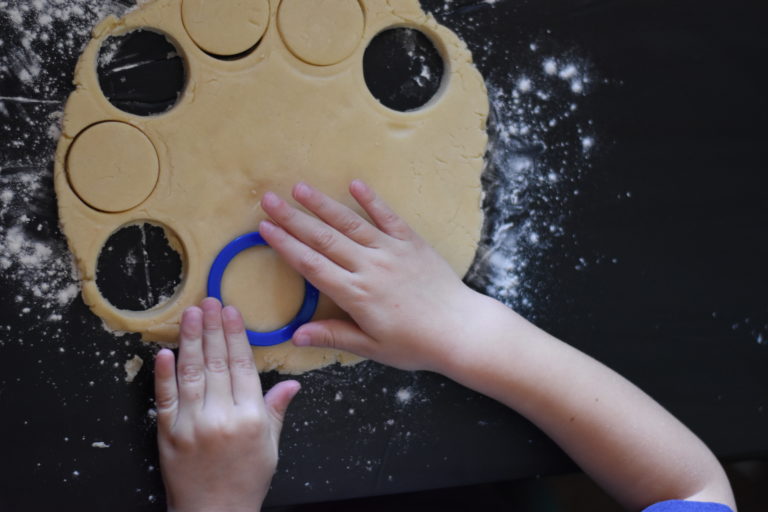
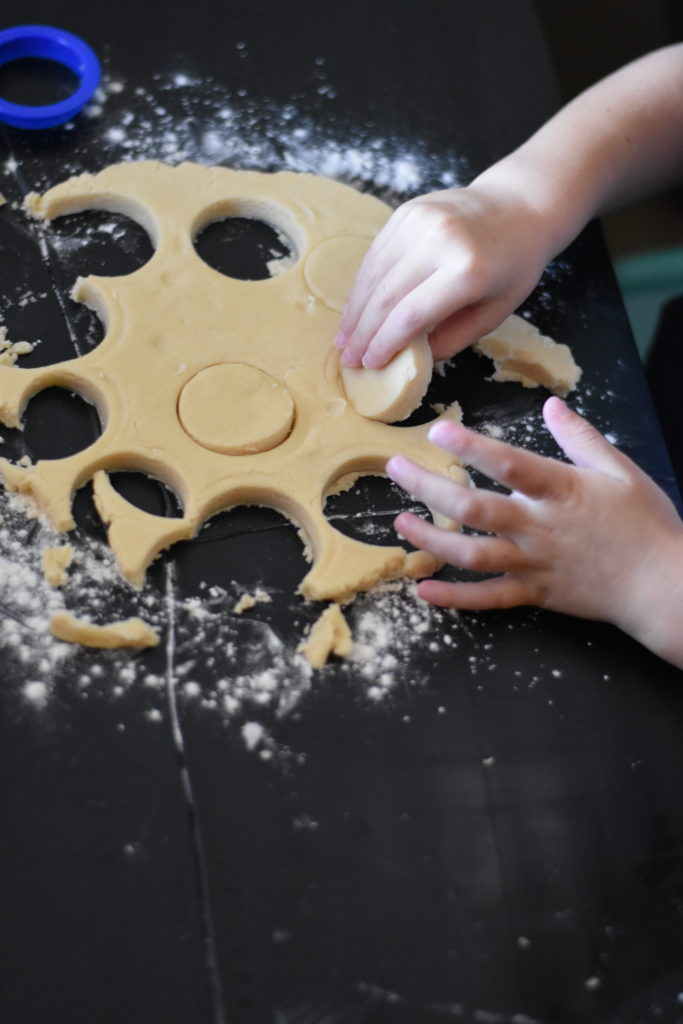
ROLLING DOUGH and CUTTING SHAPES
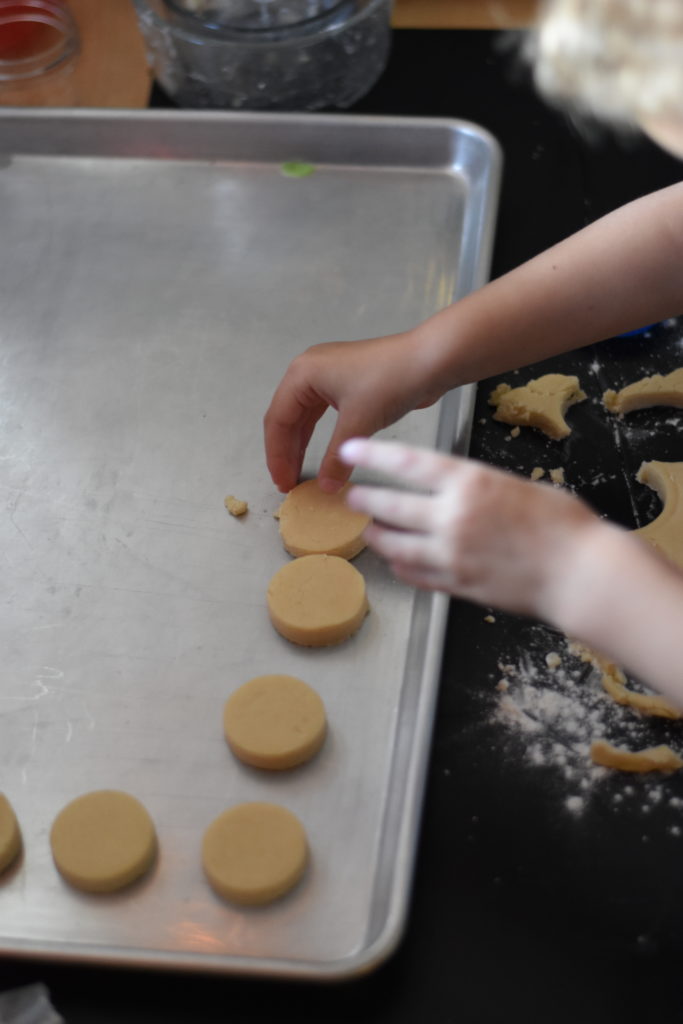
We used small circles for our gift cookies. You want to roll them to about a half an inch, which is a bit thicker than I would do for normal “sugar cookies”, since these are shortbread they turn out really well at this thickness. I love that these cookies don’t balloon much in the oven, they stay about the same size and shape as when they were dough. You should only bake them until “set” and for me that has been when I see a tiny bit of brown starting on the bottom edge, but not browned on top at all. It varies according to the size of cookie that you make.
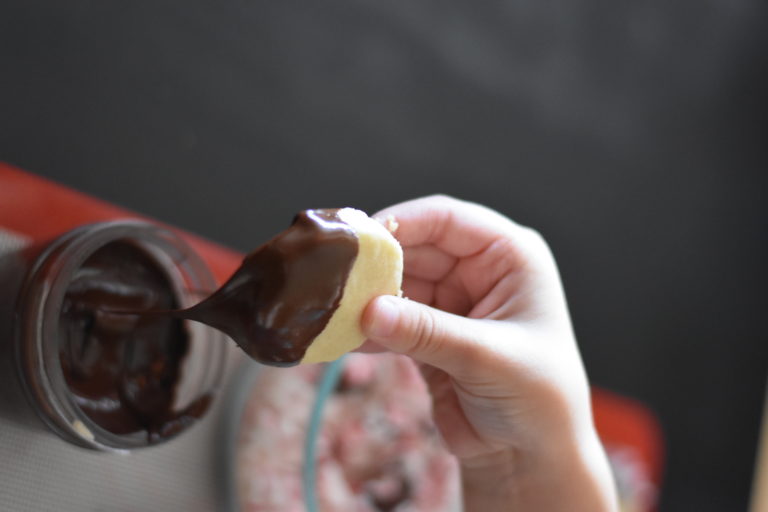
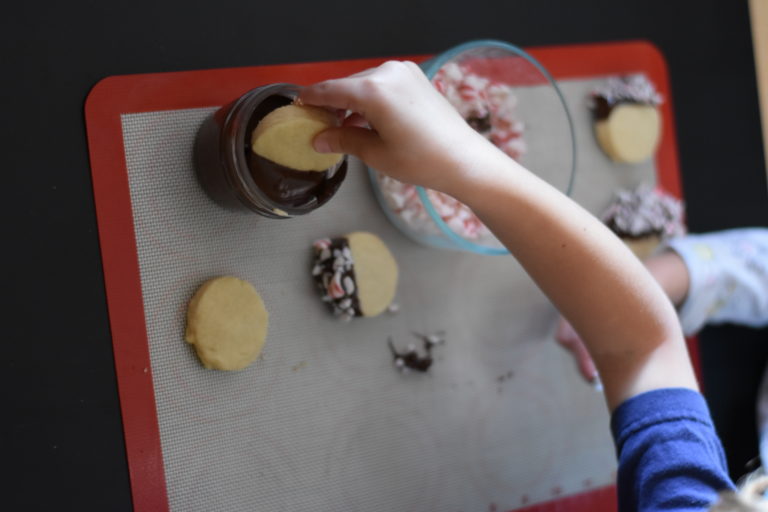
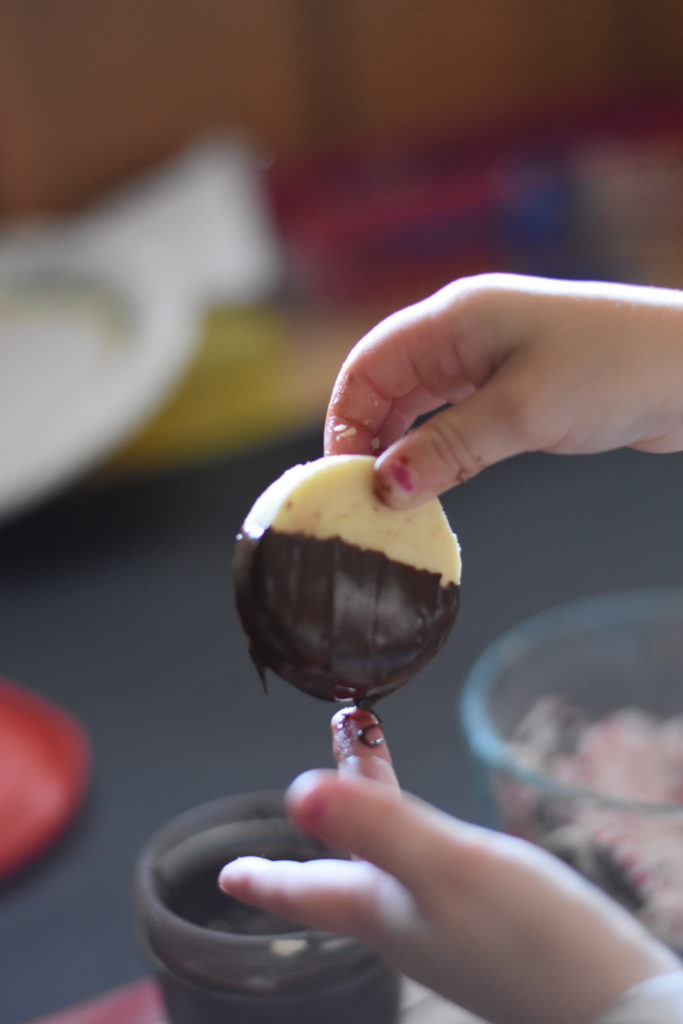
DUNKING IN MELTED CHOCOLATE
Mmm… melted chocolate. We used semi-sweet chocolate chips for ours and I thought it was the perfect combination with the peppermint. Just heat them in the microwave for 30 second intervals, stirring after each, until they are melted and smooth!
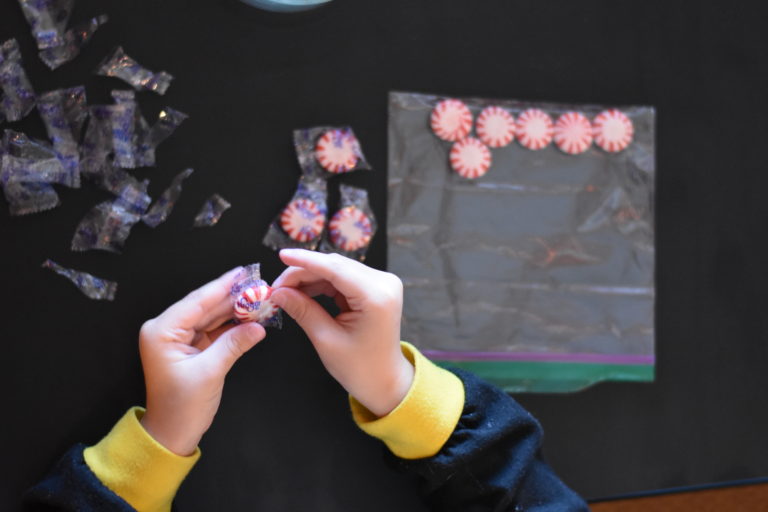
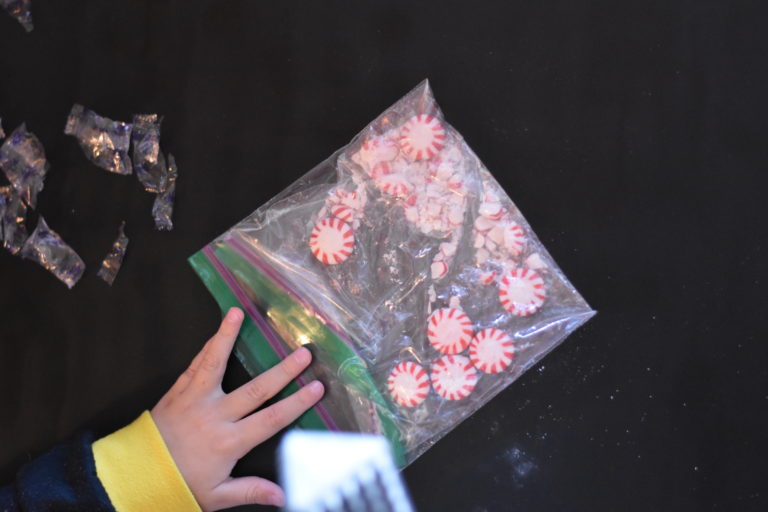
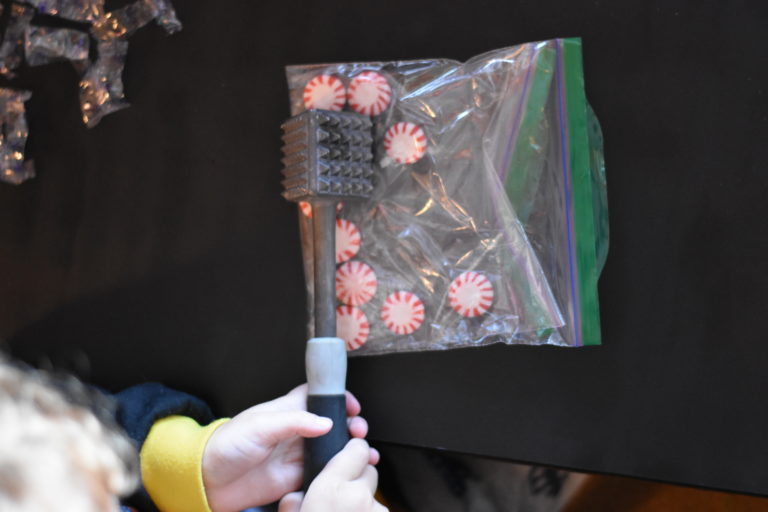
CRUSHING PEPPERMINT CANDIES
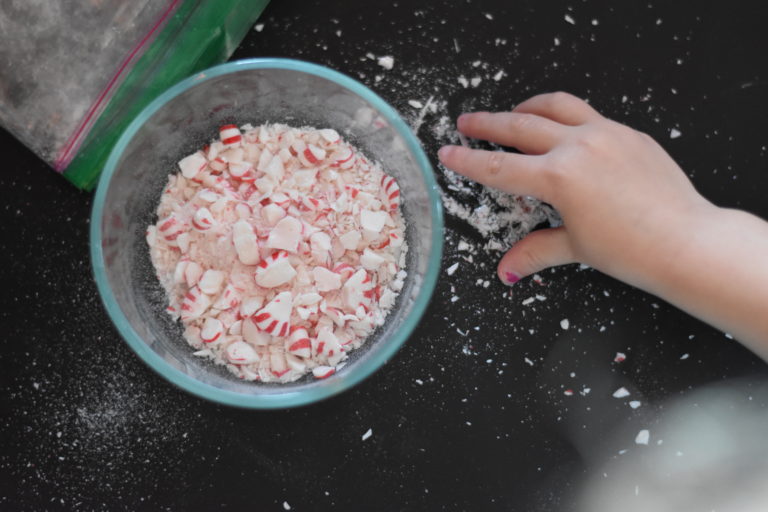
Now this was a bit of a hazardous endeavor but the kids really enjoyed it. I tried having them crush the mints with three different mallets, a large wooden rolling pin, a mini wooden rolling pin, and a meat tenderizer. The kids had a pretty hard time getting them to crush when using the rolling pins, AND the peppermints caused little dings all over in the wood. So the meat mallet was our best go to – however, watch carefully and help keep little fingers out of the way! It helped if I started by smashing a few of the mints so they were cracked open a bit, and then the kids could go to town hammering the rest. I layered the peppermints in two ziploc bags but it still broke through and leaked out since the candy is hard and sharp – using a freezer bag doubled up would have been better. My three and four year old were especially successful at unwrapping all the candies and putting them into the baggies, as well as sneaking one to sample 🙂
I also afterward wished we had crushed them finer, I think for this recipe a finely crushed peppermint is perfect instead of large chunks. We did the day before making the cookies by the way!
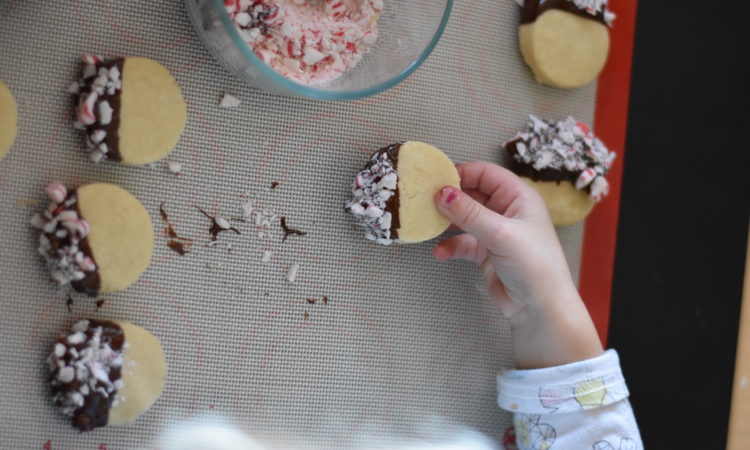
SPRINKLING WITH CRUSHED PEPPERMINT
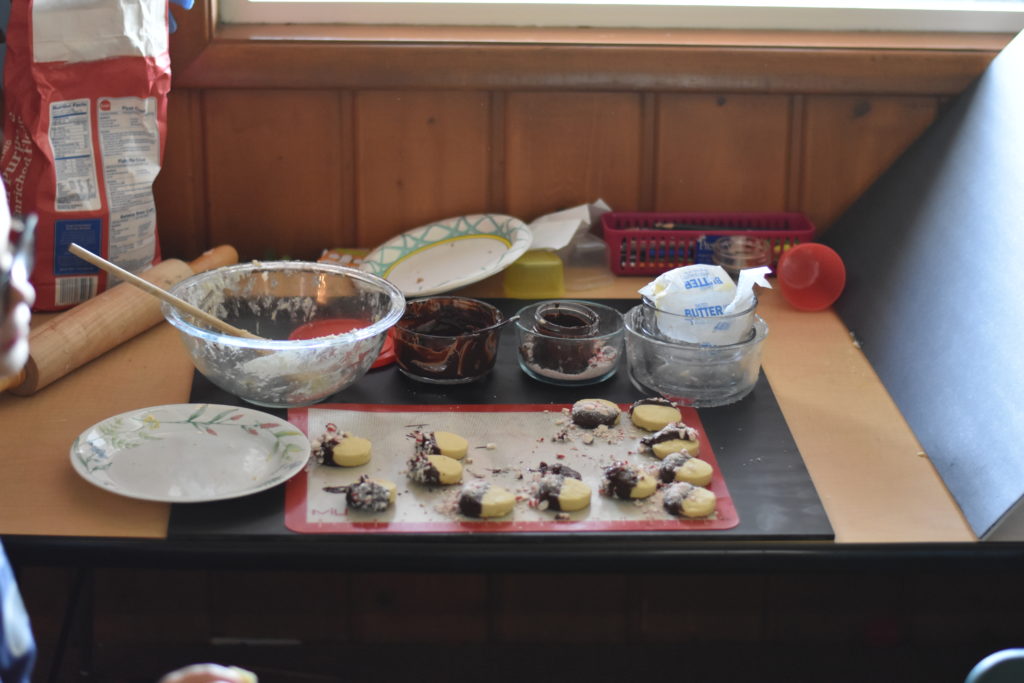
We started out dipping the chocolatey cookies into the peppermint bowl, but as you can see it got tons of chocolate in there, so we switched to sprinkling!
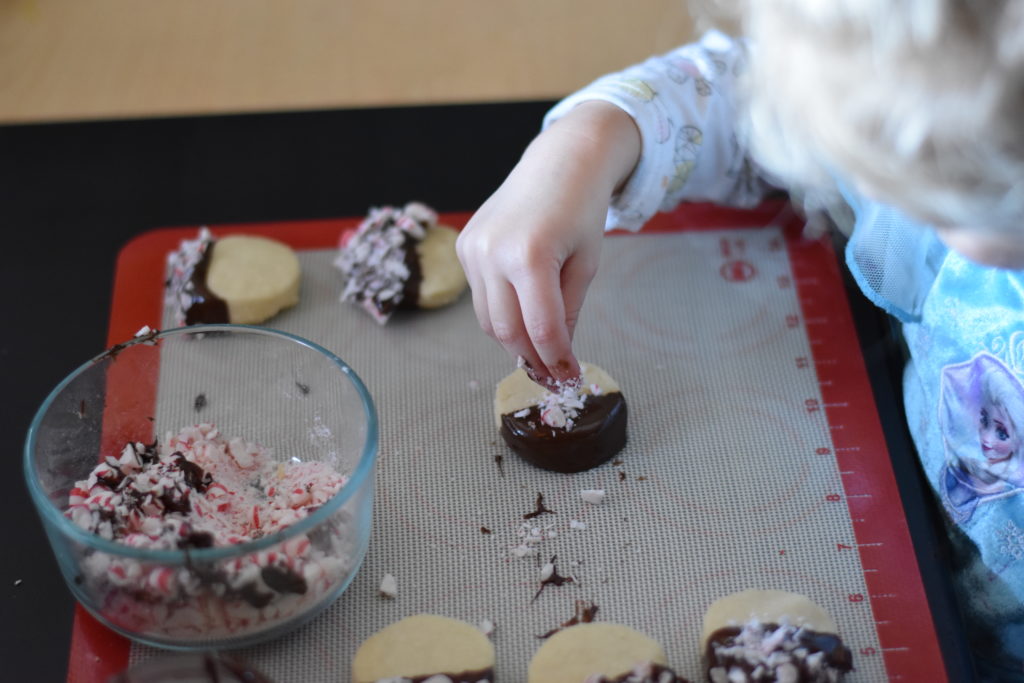
I absolutely love the combination of the buttery melt in your mouth cookie, the depth of the melted semi-sweet chocolate, with the crunch and spice of crushed peppermint candies! Leave these sprinkled cookies to set overnight or until the chocolate is dry, if they last that long!
REALITY CHECK
Have you ever had shortbread cookies before? Do you have any flavor favorites?? Check out my favorite chocolate chip cookie recipe and these mini ice cream sandwiches to try making some other fun treats!

Chocolate Peppermint Shortbread
Ingredients
- 3/4+ cup butter, softened
- 1/4 cup sugar
- 2 cups flour
- 1 cup semi-sweet chocolate chips
- 1 cup finely crushed peppermint candies
Instructions
-
Heat oven to 350F.
-
In a large bowl stir softened butter and sugar until well mixed. Add flour and stir together or use your hands to combine until it forms a soft dough that can stay packed into a ball. If the dough is crumbly, add 1 Tbsp additional softened butter at a time until it can form a ball without crumbling apart.
-
Roll dough 1/2 inch thick on a lightly floured surface. Use cookie cutters or a knife to create desired shapes. Place on an ungreased cookie sheet 1/2 an inch apart.
-
Bake for 20 minutes or until set. Remove to a wire rack to cool completely.
-
Place chocolate chips in a microwave safe bowl. Microwave on high for 30 second intervals, stirring between each, until it is melted and smooth.
-
Dip cookies into melted chocolate, then sprinkle with crushed peppermint. Leave undisturbed for a few hours until the chocolate has hardened.
Recipe Notes
Adapted from Betty Crocker's Shortbread Cookies recipe (in my cookbook at home)

